# Mono assembly instructions
When assembling the filler it's mandatory to use gloves. There might be sharp egdes that can cut you badly and gloves will also prevent fingerprints on the stainless surface.

Included in the box
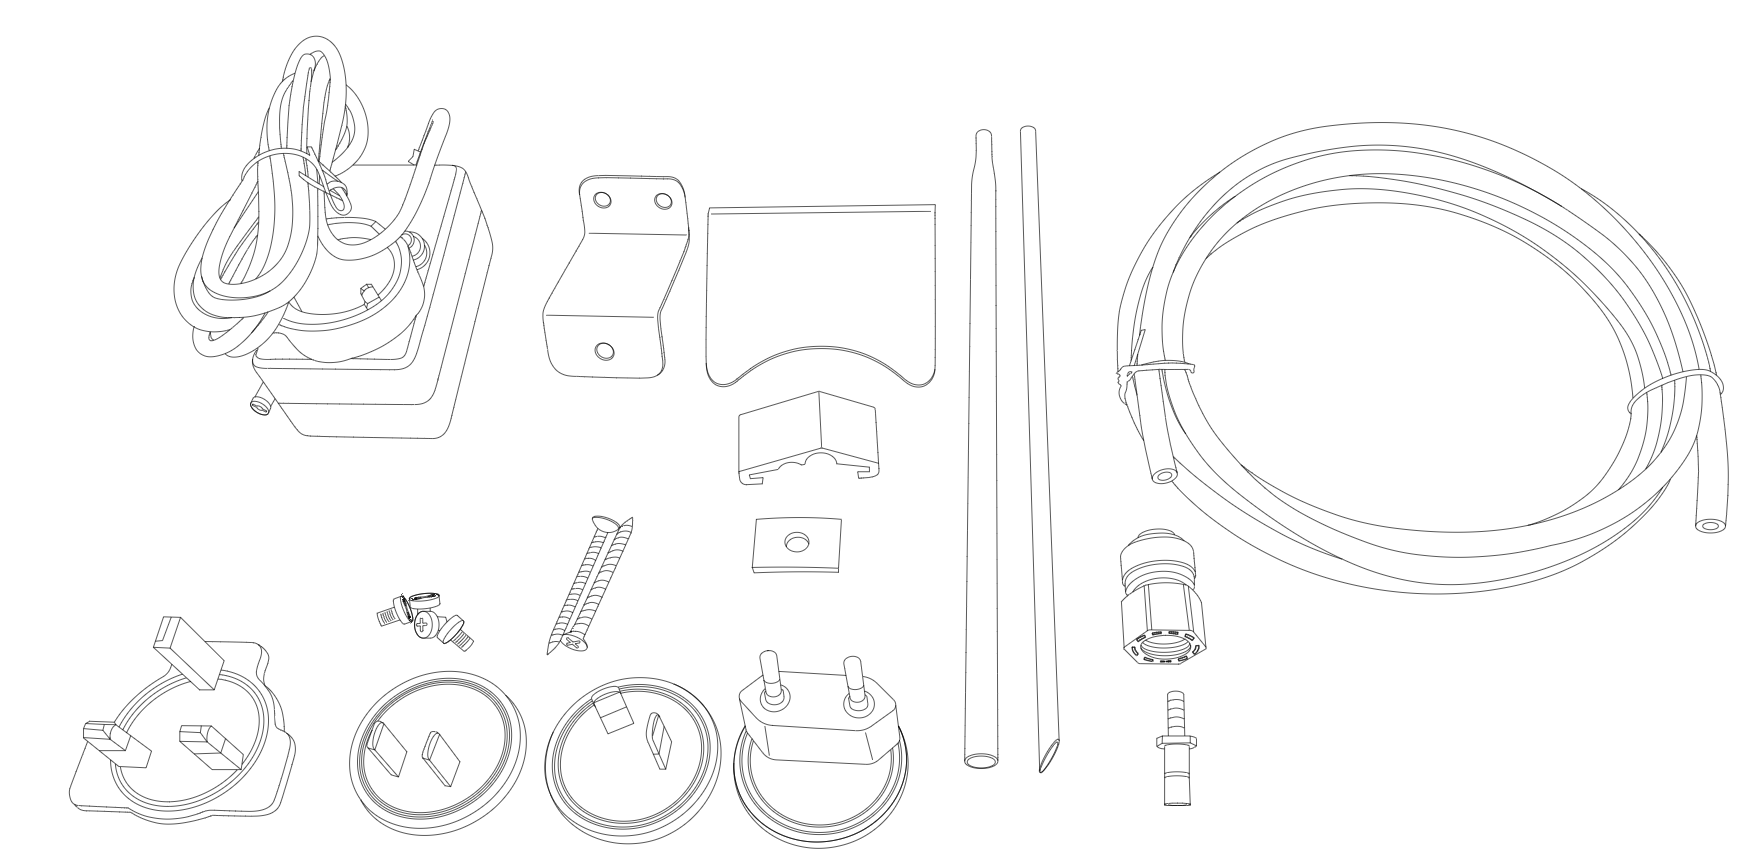
This is how the filler comes in the box. The user need to assemble the stainless tubes to the soft tubes and assemble the tubeholder and canholder bracket.
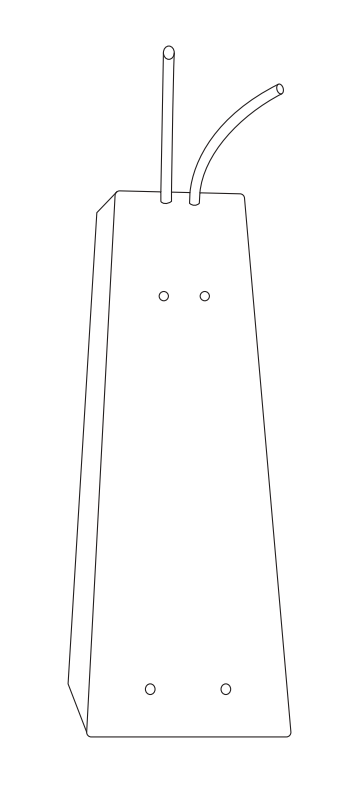
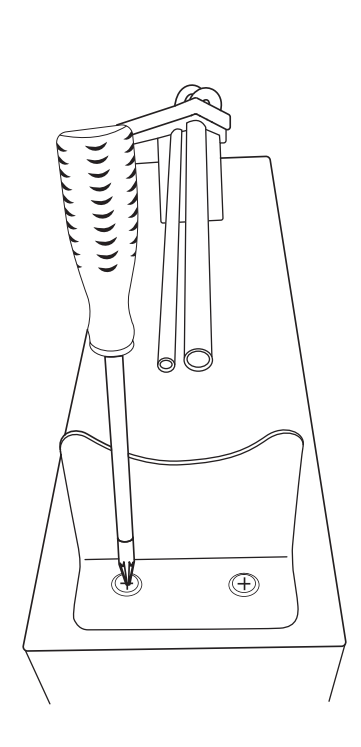
Fasten the tubeholder bracket with the included M4*5mm screws:
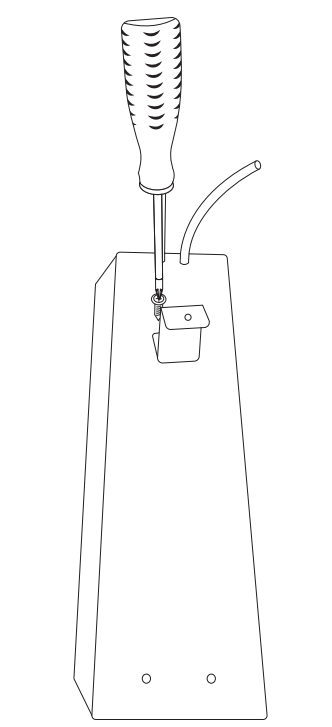
Fasten the foam pad on the tubeholder. Center hole on the foam pad is to align on center hole of bracket:
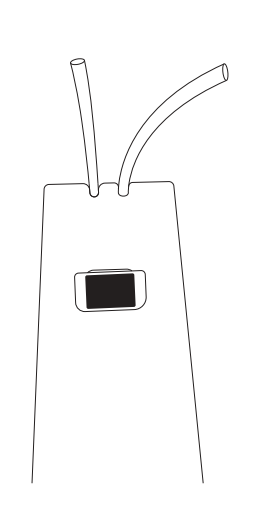
You will need to fit the flexible tube over the end stainless steel pipe by about 10mm.
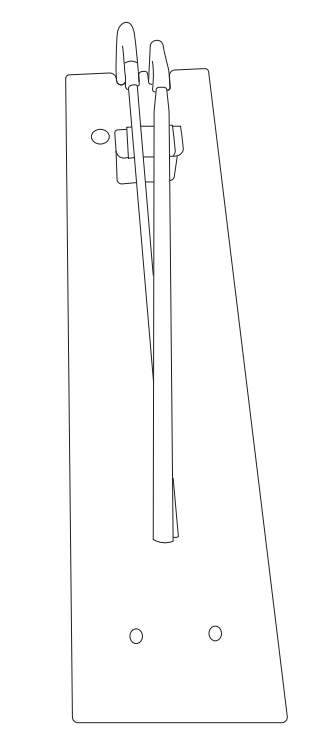
The wider pipe (beverage) will go on the right, and the tube will fit on the narrow end. The thinner pipe (Co2) will go on the left. Insert the flat end of the co2 pipe into the flexible tube, not the tapered end.
When fitting the soft tubes over the stainless steel pipes ensure not to push the pipe towards your body as if it slips it may cause injury.
Lubricating the tubes with cold, clean water will aid in the ease of fitting, however hot water will not soften the tube further.
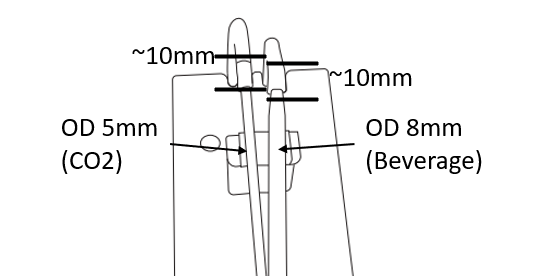
Position the tube clamp over the tubes:
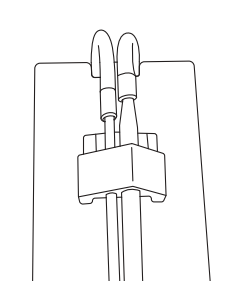
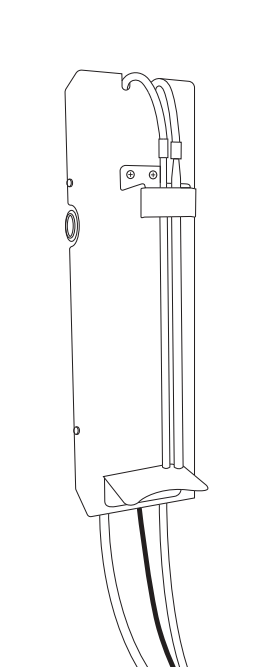
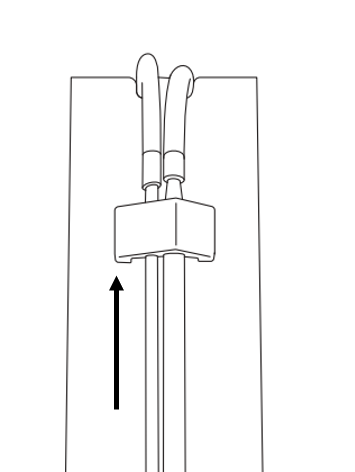
Slide the tubeclamp over the tubeholder bracket. You need to push the tubeclamp from beneath and up and it will slide onto the stainless bracket. The foam pad will be compressed to support the tubes in place.
If you plan to use with cans, fasten the canholder bracket. If you plan to use only with botttles then this bracket is not necessary.
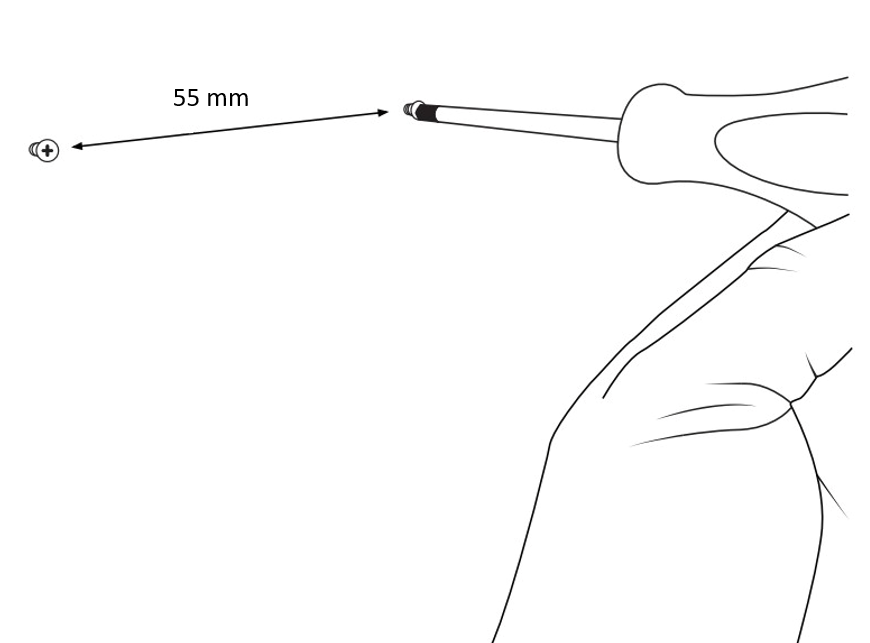
Wall mounting hole distance is 55mm. The Duofiller Mono is meant to be mounted on a wall in an upright posistion. It does not have VESA mounting holes as the Duofiller G2.
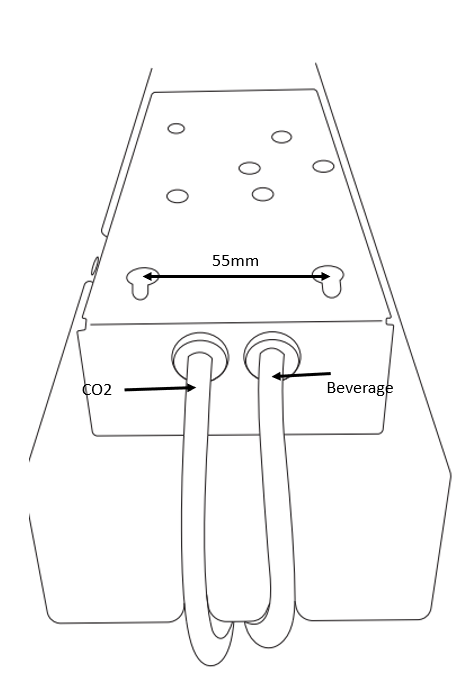
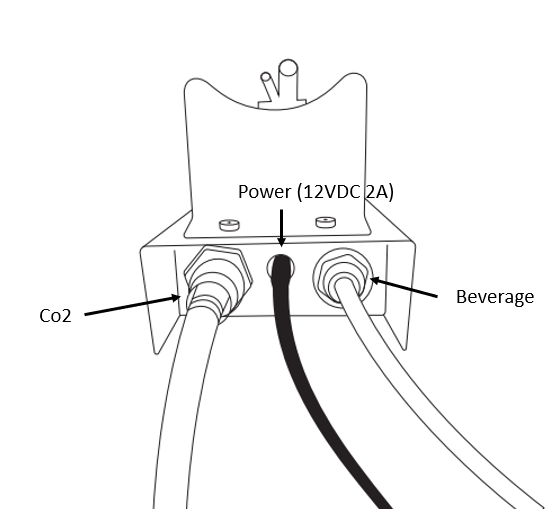
Plug in the beverage tube, power plug and CO2 tube:
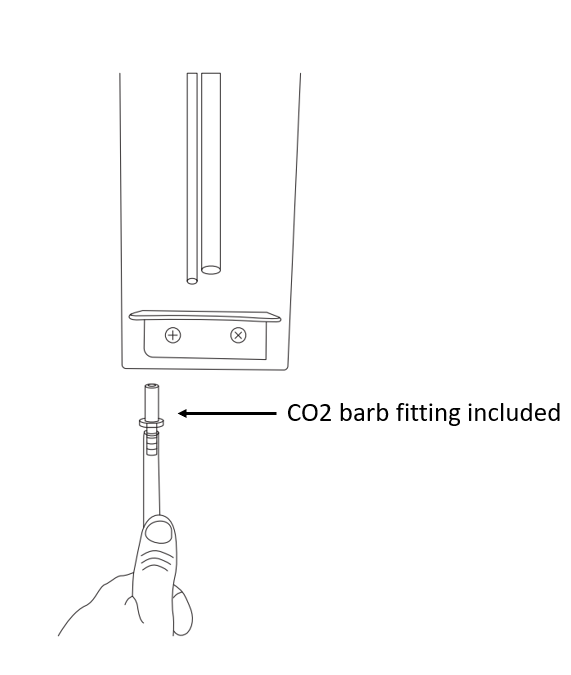
We don't provide the CO2 hose but we include a 3/8" pushfit to 1/4" barb fitting:
CO2 presure max 3psi / 0.2bar. Please always use a separate regulator for CO2 pressure. CO2 regulator is not included.
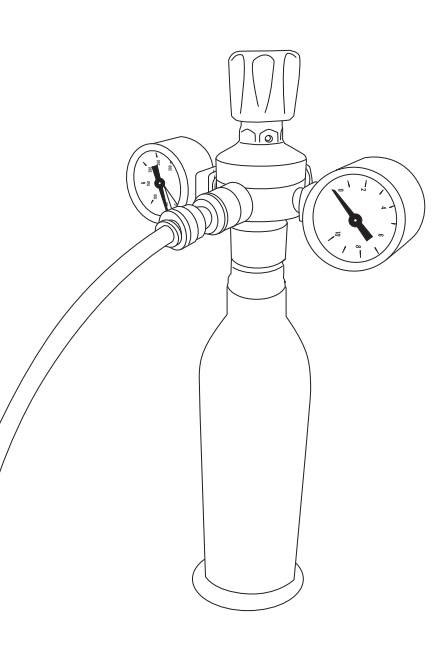
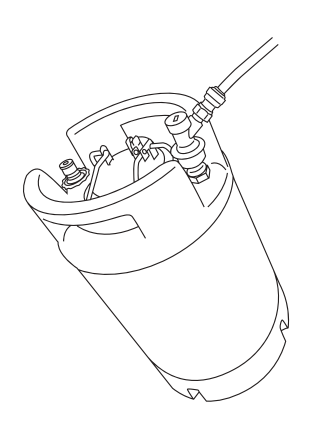
Connect beverage tubing to a keg. Max beverage pressure is 20psi/1.4bar. Please note that the keg quick disconnect is not included. There's two types of hoses in the kit; use the thin for the high carboated beers and the thick (OD 1/4") for normally carbonated beers.